Imagine stepping into a bathroom that feels like a high‑end resort, yet it’s right in your Apache Junction home. Acrylic wall panels give you that sleek, water‑proof look without the endless grout lines and costly tile labor.
They’re tough enough to survive the desert heat, easy on the wallet, and come in a range of finishes that can match any style—from modern chrome to classic stone look. Plus, they’re a breeze to clean, so you spend less time scrubbing and more time enjoying the space.
Ready to discover which acrylic systems survive the Arizona sun, how to pick the right texture, and what the installation process really looks like? Keep reading and you’ll get the insider tips you need to make the right choice for your remodel.
Acrylic Bath Wall Materials: Types, Features, and Desert‑Climate Benefits
Solid Acrylic Panels
Solid acrylic is a single‑layer sheet that’s molded into a seamless wall. It’s lightweight yet surprisingly sturdy, making it easy to handle on a typical Apache Junction remodel crew. The material’s inherent gloss gives a spa‑like shine without the need for grout.
Acrylic Laminate Systems
Laminate systems bond a thin acrylic veneer to a reinforced substrate, delivering extra impact resistance. This hybrid design tolerates the daily bump of bathroom traffic and the occasional stray tool. Heat‑deflection ratings are higher, so the panels stay flat even when the desert sun heats the room.
Reinforced Core Acrylic
For homeowners who want the ultimate durability, reinforced core panels embed fiberglass or polymer ribs inside the acrylic. The result is a wall that won’t bow under heavy towels or a wall‑mounted vanity. In the Arizona climate, the added rigidity helps the panel resist expansion‑contraction cycles.
- UV resistance: All three types are formulated with UV inhibitors that keep colors from fading under intense sunlight.
- Water‑proof performance: The non‑porous surface blocks moisture, eliminating mold‑prone grout lines.
- Thermal stability: Acrylic tolerates temperature swings from chilly desert nights to scorching midday heat without cracking.
Selecting the Ideal Acrylic System: Styles, Textures, and Budget Considerations for Apache Junction Homes
Style Options
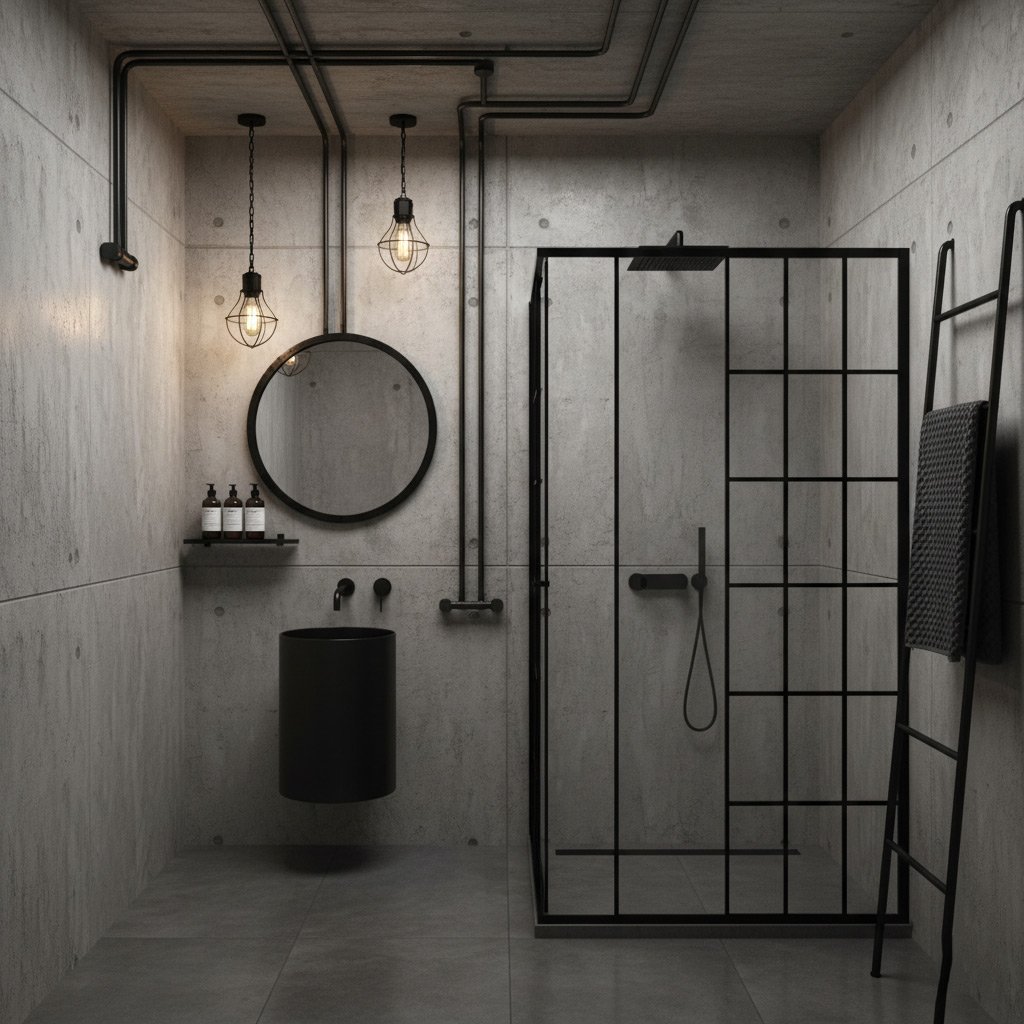
From sleek high‑gloss panels that mimic polished chrome to matte finishes that echo desert stone, the look you choose sets the tone of the entire bathroom. Modern, minimalist homes often gravitate toward seamless, single‑tone panels, while a rustic vibe pairs well with wood‑grain acrylic that resists warping under the sun.
- Glossy – bright, reflective, perfect for small spaces.
- Matte – subtle, hides water spots, great for high‑traffic areas.
- Stone‑look – adds texture without the weight of real tile.
- Wood‑grain – warm feel, UV‑stable pigments.
Texture & Performance
Texture isn’t just about aesthetics; it influences safety and cleaning ease. A lightly ribbed surface offers slip resistance when the floor gets wet, while a smooth wall panel speeds up wipe‑downs after a shower.
- Ribbed or patterned – anti‑slip for shower stalls.
- Ultra‑smooth – ideal for quick cleaning, less grout lines.
- Thermal‑insulated cores – keep the wall cool in scorching afternoons.
Budget Tips
Pricing varies by thickness, finish, and brand, but the biggest savings come from planning ahead. Measure twice, order exact dimensions, and consider a reputable local installer who knows the desert climate.
- Basic acrylic panels: $12‑$18 per sq ft.
- Premium stone‑look or wood‑grain: $20‑$28 per sq ft.
- Installation labor: $4‑$7 per sq ft (often lower than tile labor).
- Long‑term ROI – fewer repairs, no grout replacement, lower water damage risk.
Durability Factors: UV Resistance, Heat Tolerance, and Water‑Proof Performance in Arizona
UV Resistance
Arizona sun doesn’t take a break, so your acrylic walls need a built‑in sunscreen. Most premium panels are coated with a UV‑blocking polymer that stops fading after years of exposure. The result? Colors stay vibrant, and the surface won’t turn brittle.
- Fade‑resistant pigments keep the look fresh.
- UV coating adds a thin, invisible shield.
- Warranty often covers discoloration for 10+ years.
Heat Tolerance
Desert heat can push bathroom temperatures past 120°F on a summer day. Quality acrylic panels are engineered to expand and contract without cracking. Look for a product with a thermal expansion rating that matches the local climate.
- Thermal stability prevents warping.
- Heat‑resistant cores stay solid under radiant floor heating.
- Installation gaps allow natural movement.
Water‑Proof Performance
Water‑proof isn’t just a buzzword; it’s a must‑have in a wet room. Acrylic is non‑porous, so mold and mildew have nowhere to hide. Pair the panels with sealed seams and you’ve got a bathroom that stays dry, even during monsoon‑season showers.
- Seam‑locking systems create a continuous barrier.
- Non‑porous surface repels water, making cleaning a breeze.
- Long‑term performance means fewer repairs and lower insurance premiums.
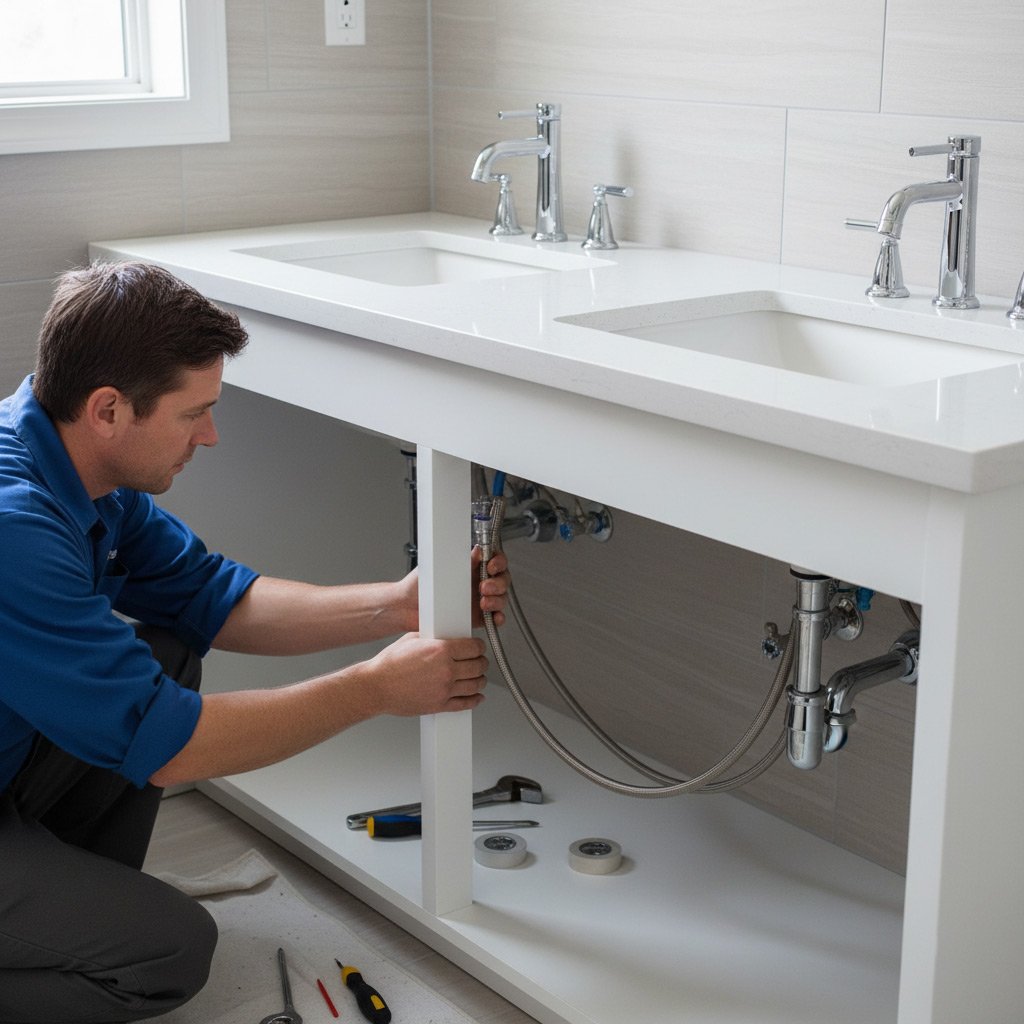
Step‑by‑Step Installation Guide: Preparation, Measurements, Professional vs. DIY Options
Preparation & Safety
First, clear the bathroom of everything that could get in the way—fixtures, towels, even the shower curtain. Turn off the water and disconnect the supply lines to avoid surprise leaks.
Next, protect the floor with a drop cloth and wear safety glasses; acrylic shards can be sharp. Ventilation matters because the adhesive releases fumes.
Accurate Measurements
Measure each wall twice: once from floor to ceiling, once from corner to corner. Write the numbers on a sheet and add a half‑inch extra for trimming.
Mark the layout on the wall with a pencil line; this is your guide for panel placement. Use a level to keep the lines straight—no sloping panels.
Professional vs. DIY
If you love a challenge and have basic carpentry tools, DIY can save $1,500‑$2,500 on labor. But a pro brings experience with substrate prep and warranty protection.
Consider these factors when deciding:
- Complexity of the layout (niches, corners, windows)
- Availability of a licensed installer familiar with Arizona’s heat‑expansion issues
- Time you can devote—most pros finish a standard bathroom in 2‑3 days
- Budget: DIY cuts labor, but mistakes can cost more in repairs

Maintenance Mastery: Cleaning Techniques, Repair Tips, and Longevity Hacks
Everyday Cleaning – Keep It Spotless
Grab a soft microfiber cloth, a spray bottle of warm water, and a dab of mild dish soap. Wipe in gentle circles and rinse with a clean damp rag; the acrylic surface will stay glossy without a trace of residue.
For a streak‑free finish, finish with a quick pass of a vinegar‑water mix (1 part vinegar to 4 parts water). It neutralizes soap film and leaves the panels looking showroom‑ready.
Stubborn Stains? No Problem
When soap scum or mineral deposits set in, let a solution of equal parts baking soda and water sit for five minutes. Scrub lightly with a non‑abrasive sponge, then rinse.
For ink, paint, or adhesive mishaps, apply a small amount of isopropyl alcohol to a lint‑free cloth and dab—don’t rub. The stain lifts without scratching the acrylic.
Quick Fixes & Long‑Term Care
Minor chips or scratches? Use a clear acrylic repair kit: clean the area, apply the filler, smooth with a plastic putty knife, and sand with 400‑grit sandpaper once dry. Seal with a UV‑resistant clear coat for extra protection.
- Inspect seams annually; re‑seal any gaps with a silicone caulk formulated for high temperatures.
- Keep heat sources at least 12 inches away from panels to avoid warping.
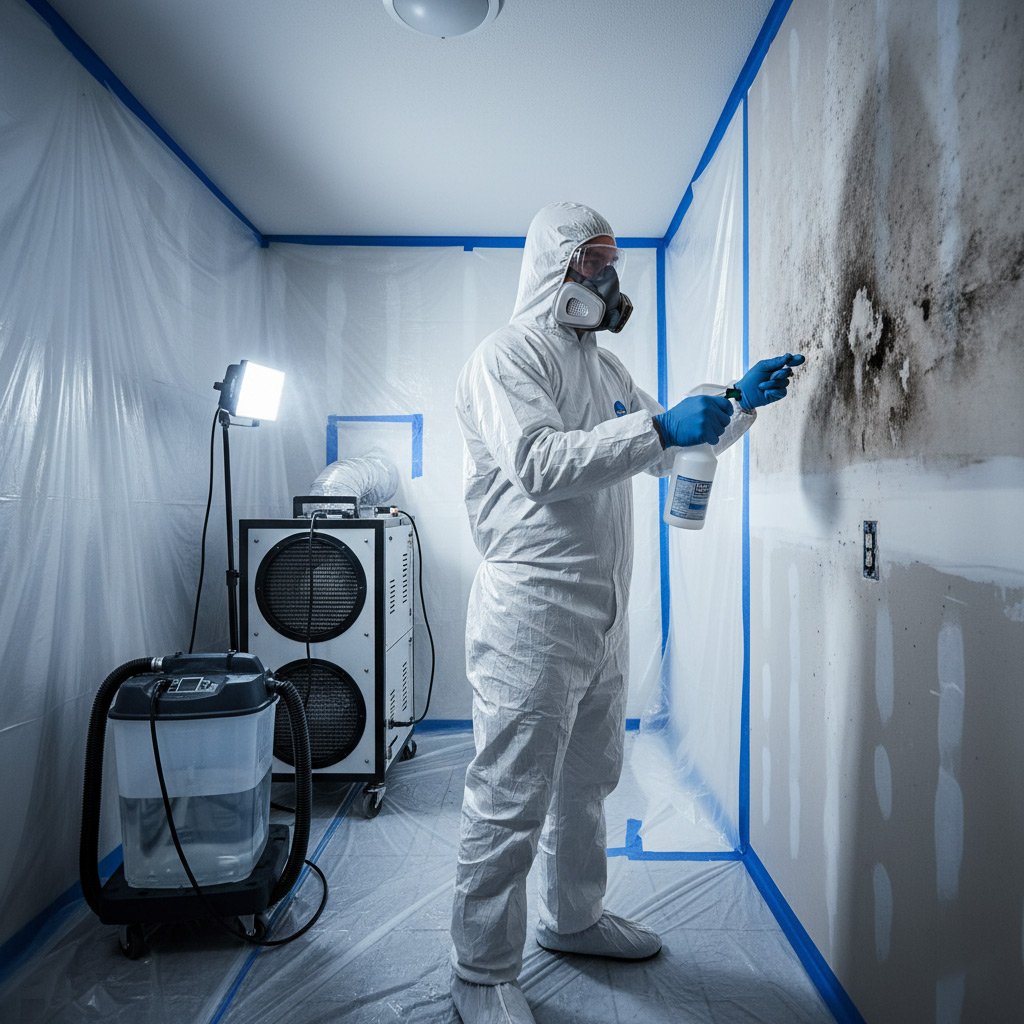
- Schedule a professional deep‑clean every 2‑3 years to refresh the surface and catch early wear.
Case Study: A Complete Acrylic Wall Panel Renovation in an Apache Junction Residence
The Home & The Goal
When the Martinez family decided to upgrade their master bath, they wanted a look that screamed “spa” without the endless grout maintenance. Their priority was a surface that could handle the desert heat and the occasional splash from their kids’ bath toys.
We proposed a full‑wall acrylic system that would replace the aging tile, cut labor costs, and deliver a seamless finish that stays cool under the Arizona sun.
Materials, Timeline & Budget
Here’s what we delivered:
- Panel type: ¼‑inch solid acrylic with a matte stone‑look finish.
- Color palette: Warm sand beige to complement the desert landscape.
- Installation window: 3 days – demolition, prep, and panel placement.
- Cost: $7,200 total, 30% less than a comparable tile job.
The crew pre‑treated the studs, applied a moisture‑blocking membrane, and used a hidden silicone seal to lock the panels in place. No grout lines, no cracks, just a clean, water‑tight envelope.
Results & Homeowner Reaction
Two weeks after the install, the Martinez family reported that the walls felt cool to the touch even during peak summer afternoons. Cleaning is a breeze—one wipe with a mild soap solution and the surface looks brand new.
They love the “no‑line” aesthetic and appreciate the long‑term durability. The acrylic panels have already withstood a minor roof leak without any water seepage, proving the system’s waterproof integrity.
Final Thoughts
When you choose acrylic wall panels, you’re not just picking a surface—you’re investing in a solution that thrives under the relentless Arizona sun. Heat‑defying, low‑maintenance, and instantly upgradeable, these panels let you enjoy a spa‑like feel without the endless upkeep of tile.
Key Takeaways for Apache Junction Homeowners
- Prioritize UV‑stable acrylic to keep colors vibrant year after year.
- Match the panel texture to your design vibe—smooth gloss for modern, matte stone‑look for classic.
- Factor in professional installation if you want flawless seams and warranty protection.
Ready to see how acrylic can transform your bathroom? Dive deeper into the full range of options and see real‑world results in our Acrylic Bath Walls showcase.
People Also Ask
What are the main types of acrylic bath wall panels suitable for Apache Junction homes?
Acrylic panels come in solid sheets, pre‑molded curved panels, and modular tile‑style systems. Solid sheets offer a seamless look, while modular tiles provide easier repairs and design flexibility.How does acrylic perform in the high UV and heat conditions of the Arizona desert?
High‑quality acrylic is engineered with UV inhibitors that resist yellowing and fading. It also tolerates temperature swings up to 120°F without warping, making it ideal for desert climates.Can I install acrylic bath walls myself, or should I hire a professional?
DIY installation is possible for small, pre‑cut kits, but proper substrate preparation and precise seam sealing often require professional expertise. Hiring a certified installer ensures warranty compliance and a flawless finish.What maintenance steps keep acrylic bath walls looking new for years?
Clean with a non‑abrasive, pH‑neutral cleanser and a soft cloth weekly. For scratches, use a clear acrylic repair kit and avoid harsh chemicals that can degrade the surface.How much does a full acrylic wall panel remodel typically cost in Apache Junction?
Pricing ranges from $3,500 to $7,500 depending on panel thickness, design complexity, and labor rates. Selecting a mid‑range acrylic system with standard finishes usually falls near the $5,000 mark.Apache Junction Bathroom Remodel specializes in custom bathroom renovations, bringing over a decade of craftsmanship to homes throughout Apache Junction, Arizona. Their team combines local knowledge with meticulous attention to detail to deliver functional and stylish spaces that reflect each homeowner’s vision.
Need Bathroom Remodel?
We transform bathrooms in Apache Junction and nearby ZIPs (85120, 85131, 85118, 85138) with fast, high‑quality remodels that boost comfort and home value. Our team delivers projects on schedule so you can enjoy your new space without delay.
Get Bathroom Quote